

(Beautiful, expensive and exclusive Portofino, Italy)
So having failed so massively at making the little bread rolls in my exam last week at Tante Marie, I decided today to get back on the bread wagon and make one of my favourites breads – The Focaccia.

Garlic and herb Focaccia
Focaccia is as popular as it is badly made, and believe me I have had some badly made ones! Whilst working on-board large motor-yachts I tried numerous recipes for this fabulous bread, non of which came close to encapsulating the goodness of the version found in a tiny little bakery in the heart of Portofino, Italy. This tiny little bakery that has been going for over 100yrs, serves up what can only be described as the best Focaccia in the world* and may also rate as being some of the most expensive. One day I had to run ashore to pick up some provisions and was asked by the chef to stop by this particular bakery and pick up a few varieties for the guests, and was warned that the old women that serves in there will try and feed me till I burst with various bits of baked goodness... she didn't disappoint. I bought four varieties, each portion being the size of a dinner plate... price... 65 euros! That's some expensive water, flour and oil let me tell ya! But oh yeah it was definitely worth it!
After this experience my focaccia making stepped up a gear trying to recreate that perfect texture and flavour I had experienced, the crispness of the herb variety, or the goey stickiness that came with the onion topped version. After many an hour trawling the internet I stumbled across a recipe that looked as if it may posses the correct texture, and that has to be half the battle right?? So the next day I set about making it. Not bad.. I made it again a few days later tweaking it a little... better... and so on and so forth until I reached this my recipe. I would love to mention the place I first found the base recipe as it was the blueprint for this, just with a little tweak here and there, but I cant for the life of me remember... so if you recognise this being close to your recipe, let me know who you are so I can thank you and attribute it to you!
Ok, enough with the waffle. Lets get baking!
Dylan' Perfect Focaccia
(makes two breads, or if you have a very large oven and baking tray.. one party size!)
For the Poolish:
340g White bread flour
350g Water at room temp
½ tsp Dried yeast.
(is fine to use fresh yeast if you have it. If using dried just whisk it with the water to dissolve and reactivate it)
To finish the dough:
All the above poolish
330g White bread flour
90ml Olive oil
2 tsp salt plus some for sprinkling
170g lukewarm water
1½ tsp Dried yeast

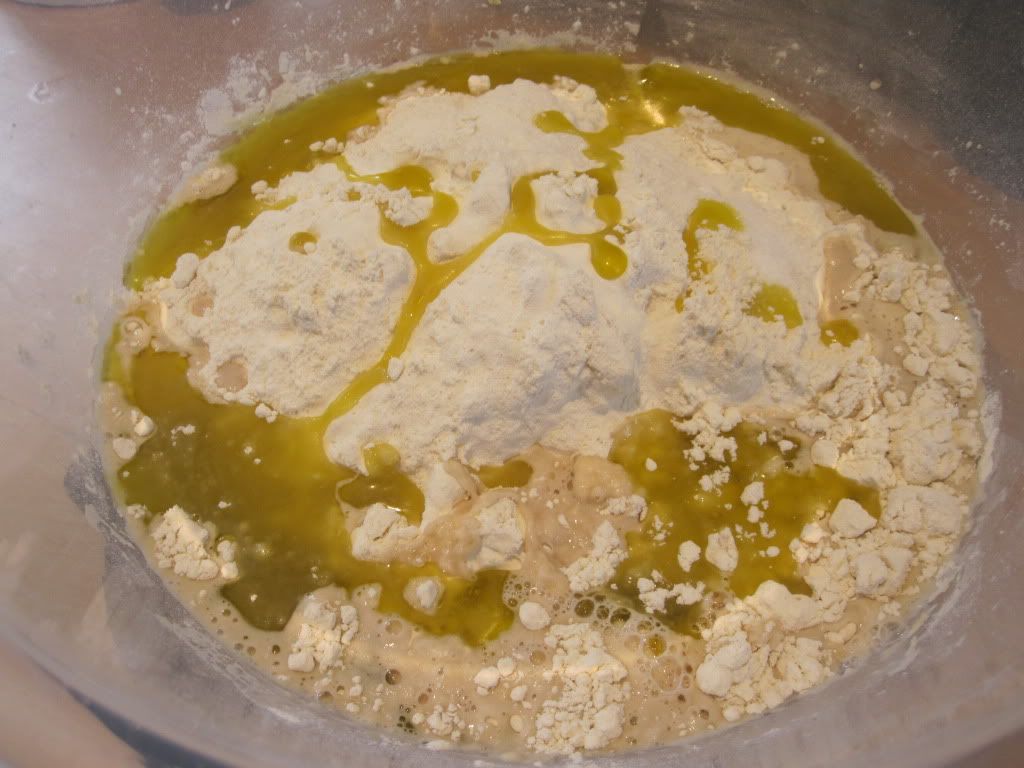
- Night before making bread mix all poolish ingredients together with a wooden spoon and stir in the same direction 100 times to help develop the gluten (crucial), cover and leave somewhere cool or in the fridge overnight. This should be like a thick sticky paste so don't worry!
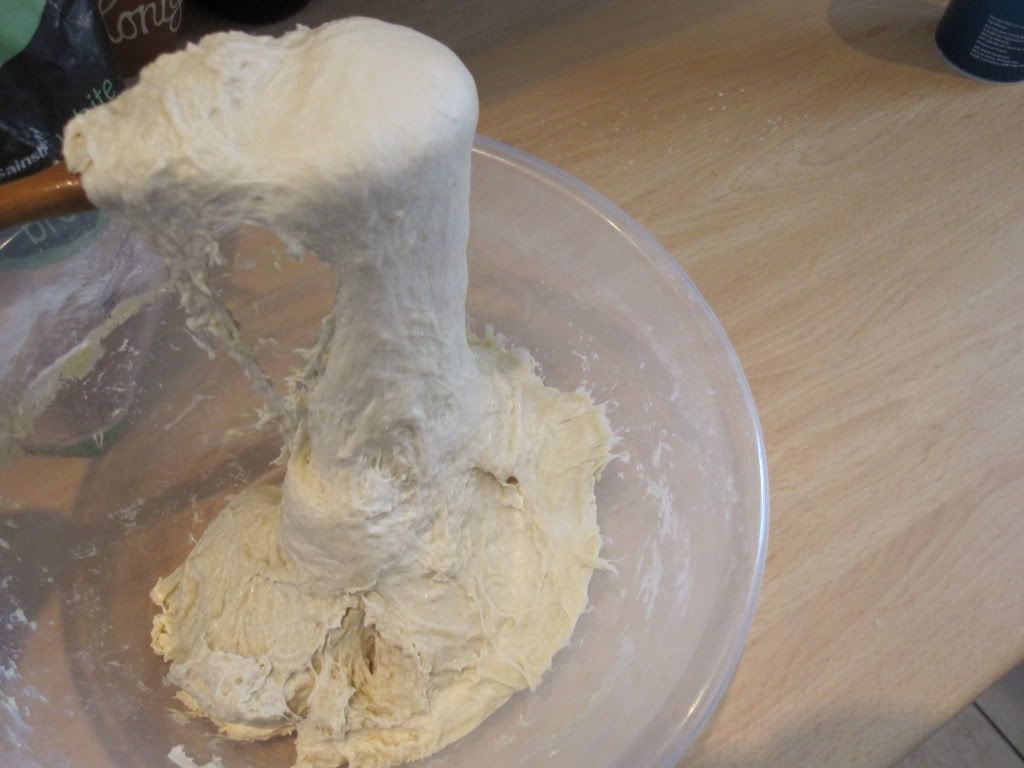
- Add remaining ingredients and again mix 50 times with a wooden spoon ensuring everything is incorporated. It is still going to be a sticky mess... just go with it. I wouldn't lie to you.. would I?
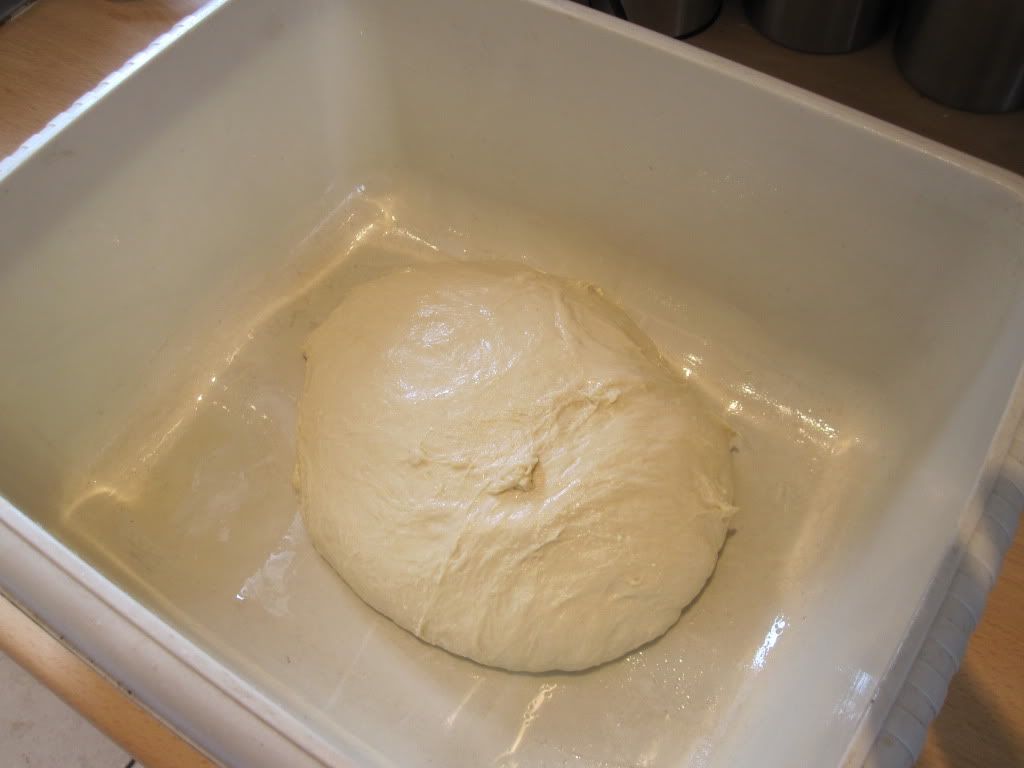
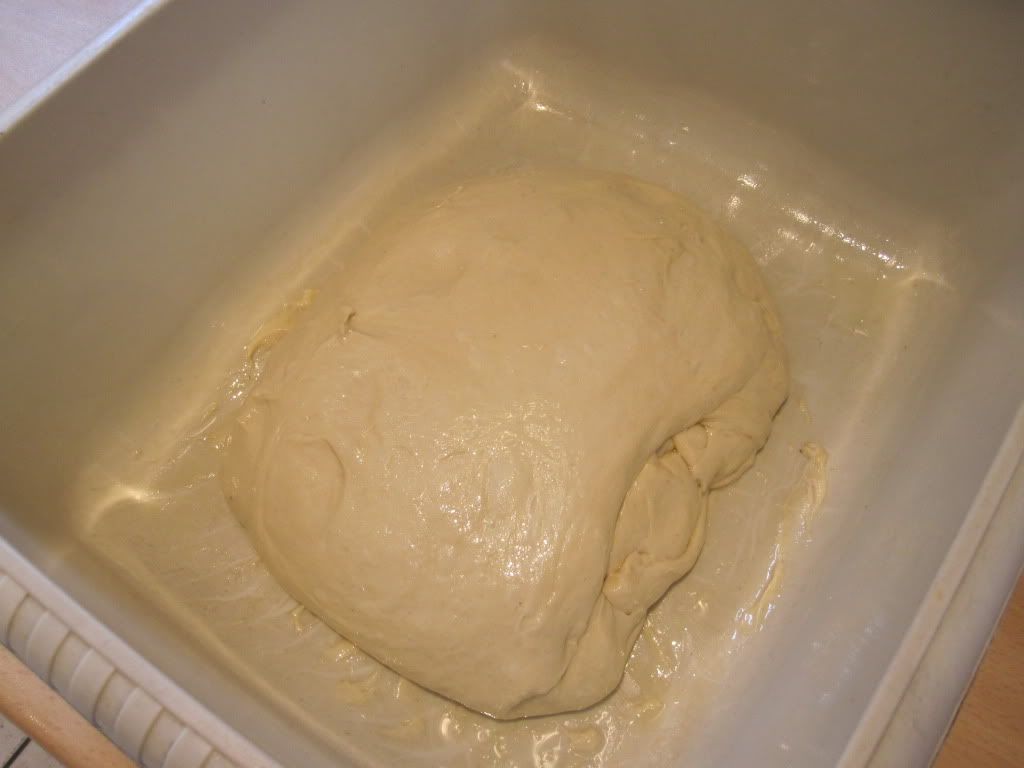
- Remove dough from bowl and place in a greased basin, gently spread the dough into a rough rectangle and fold it into three. Oiling your hands a little will help. Cover and leave to prove for an hour or until doubled in size in a warm place. I used an oiled plastic basin to pour the dough into, you could the remainder on a greased work surface or baking tray.
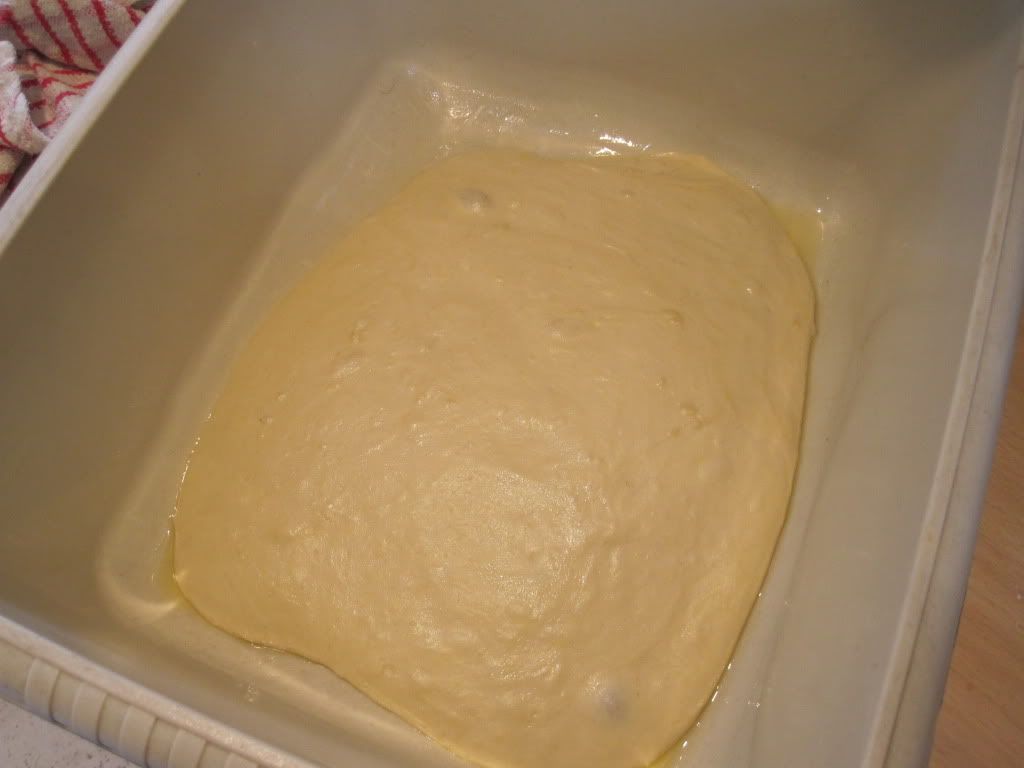
- Because the dough is so 'loose' it should have spread as it has risen and nearly filled the base of the basin, repeat the folding, cover and prove again for an hour or until doubled in size... repeat one more time after this. The folding helps distribute the various size bubbles that are forming in the dough and is crucial for a good final texture.
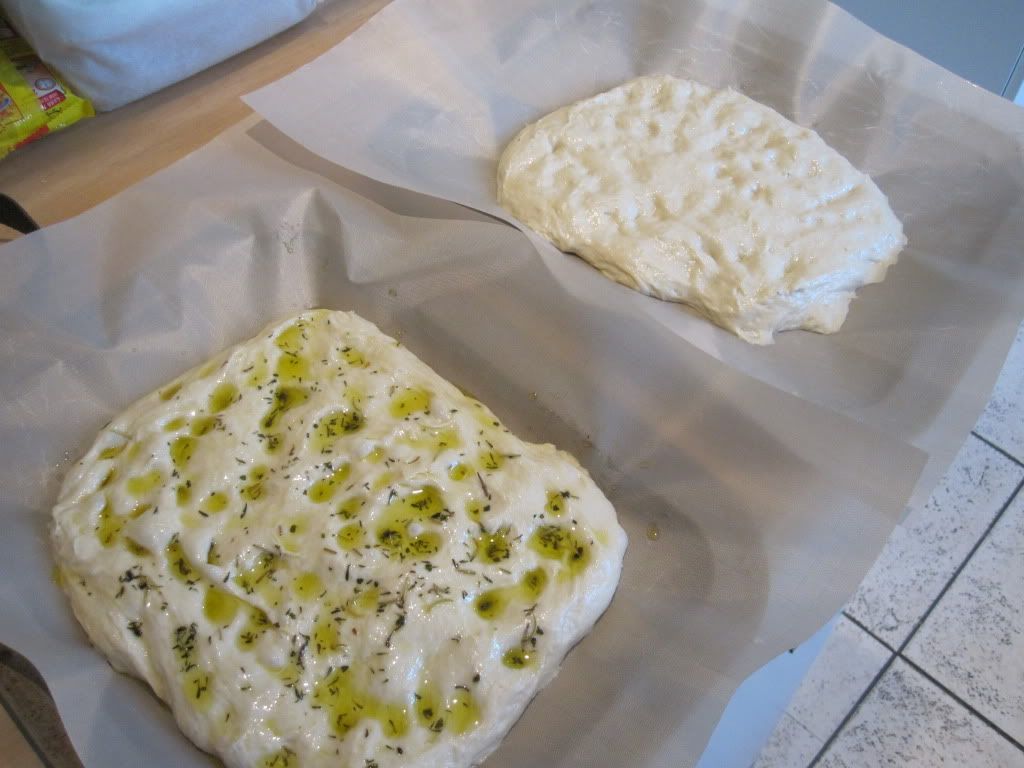
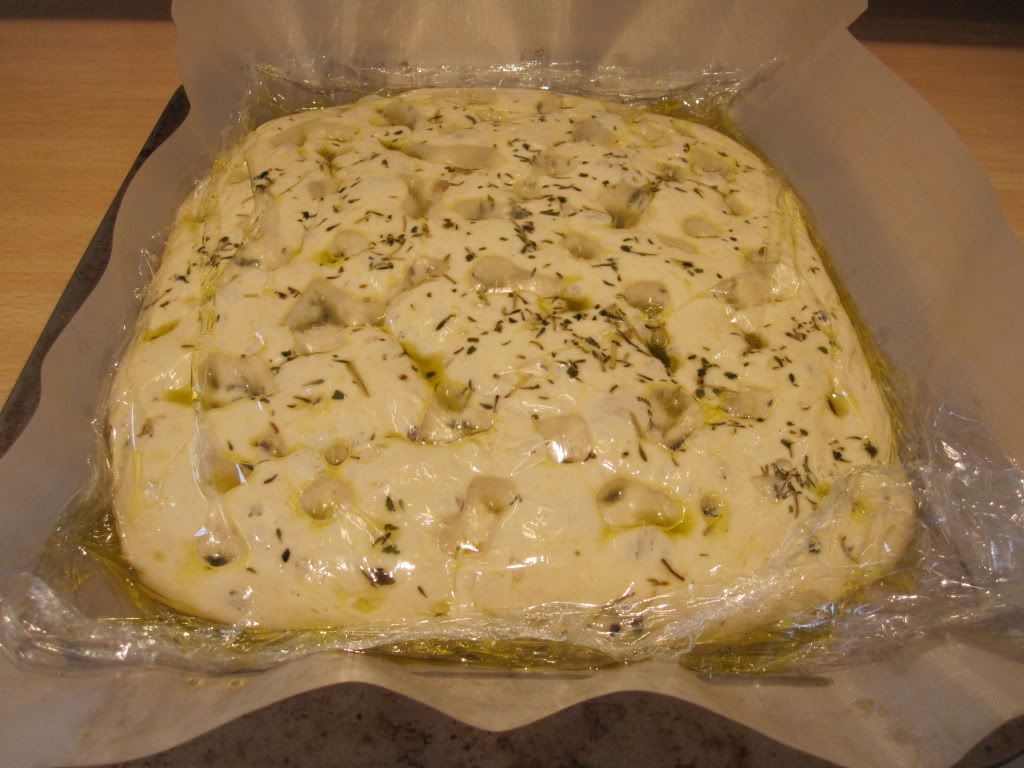
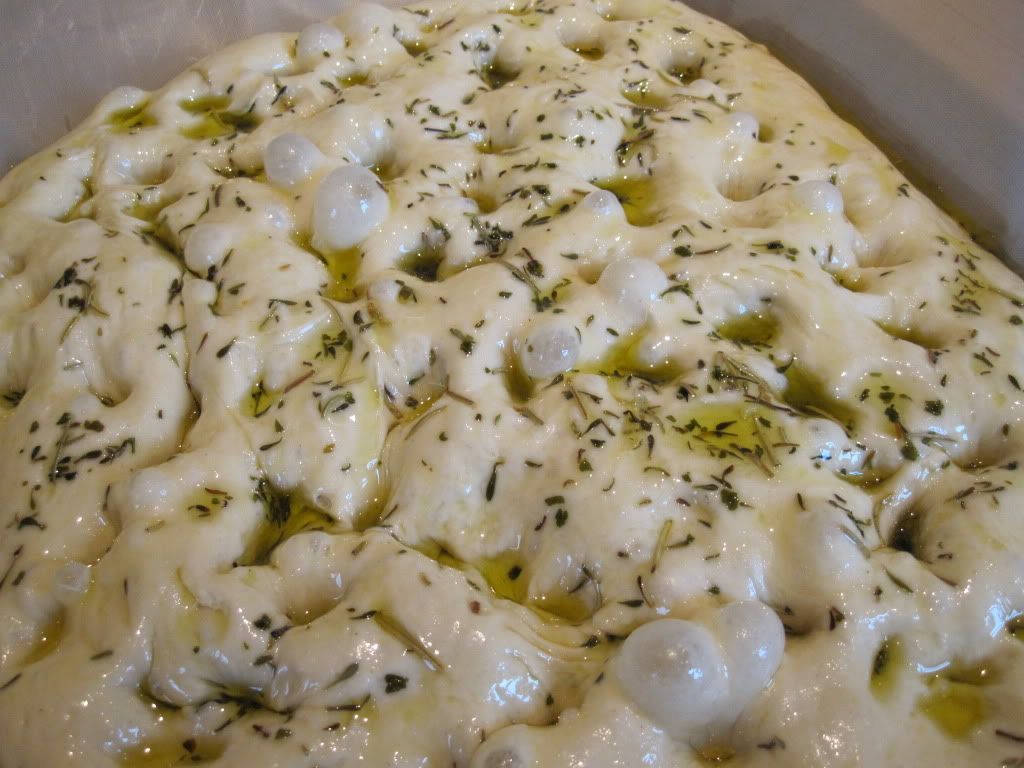
- Use a knife and try and cut the dough in two, it wont be easy but just get stuck in! Grease two trays with olive oil, or use a teflon baking sheet as I have, and place half the dough on each. Cover with oil (see end of post) and gently push your finger tips into the dough and ease it towards the edges of the tray. Don't worry if it doesn't fill the tray as it soon will. Leave to rest again covered in clingfilm until doubled in size. Preheat the oven to 250c and place a baking sheet you won't be using for the bread in the bottom of the oven.
- The dough should now fill or nearly fill the tray. Carefully add more oil to the top of the dough and gently press it into the dough. Any any large bubbles that appear should be gently popped. The idea is to keep most of the gas in the dough so treat her gently. Rest for 15mins then place in a 250c oven, immediately turning down to 220c. Just before shutting the door, toss a 1/4 cup of water or a few ice-cubes onto the tray you previously placed in the bottom of the oven, shut the door quickly to trap the steam.
- Vent the steam from the oven after 8-10mins and turn the tray around and bake for another 8-12mins until cooked through and nicely browned.
- Let cool on a wire rack or the base will go soggy, brush with a little oil then sprinkle with sea salt! Don't touch it for at least 20mins to allow excess moisture to evaporate from the dough.... enjoy!
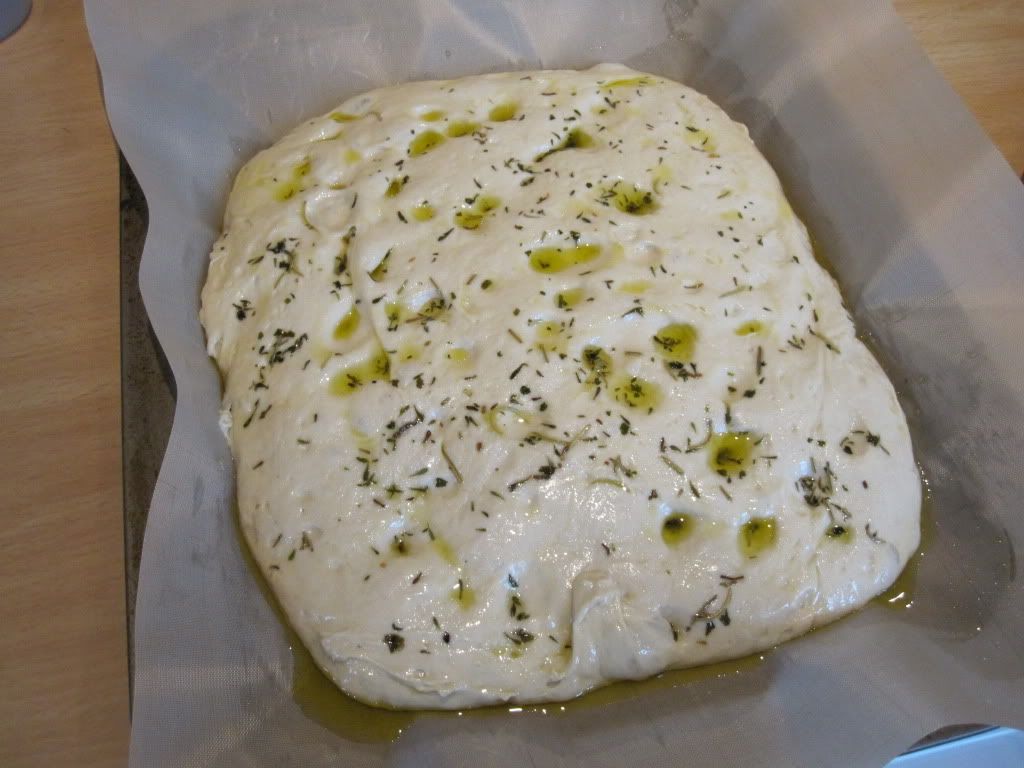
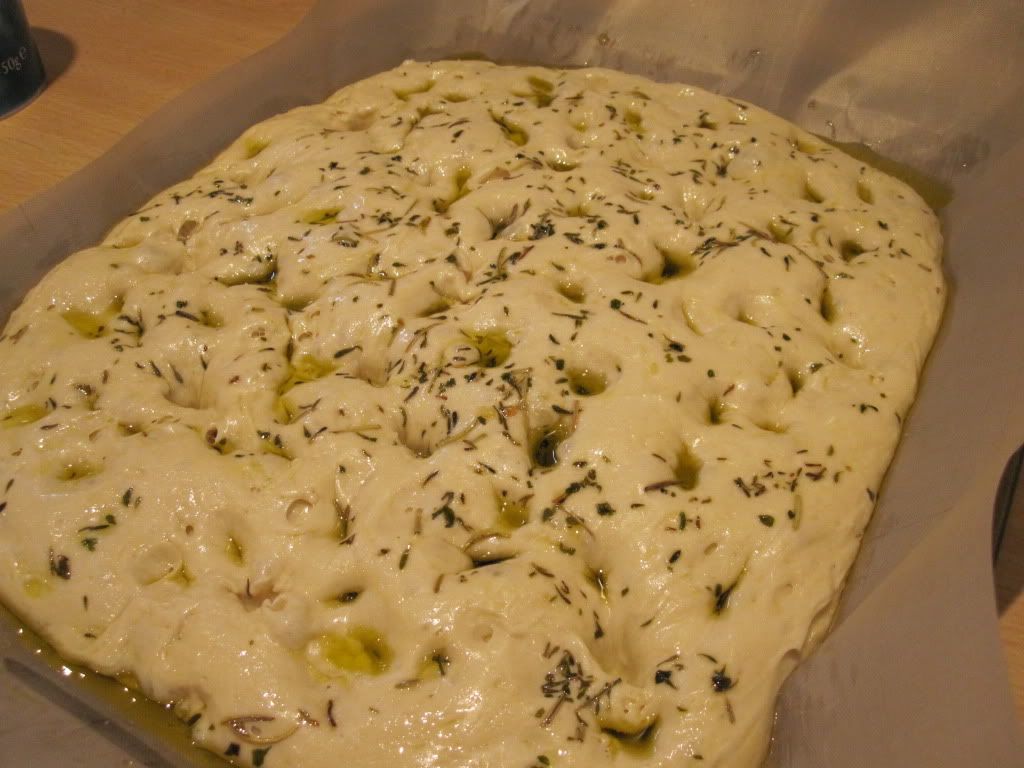


So that's basically that. A few things, I made a flavoured oil with rosemary, thyme and garlic heated cooked gently in good extra virgin olive oil for 6-7mins and then cooled. You don't have to do this as it tastes great with just the olive oil... I would recommend it though. 150-200ml should be about right, save leftovers to make salad dressing with... no measurements for the herbs as I didn't take note, just go with what feels right, taste and add more if necessary!

The second focaccia was a onion topped version, very authentic and my favourite! Finely slice an onion or two or three and place in a bowl with some salt and a little sugar. Mix well and taste a bit of onion, it should taste a little too salty. Leave for 30-60mins and gently squeeze the liquid out of the onions. Taste them again and they should be only a little salty now. Spread over the lightly oiled dough and bake. Sprinkle with a little salt while cooling.

I cooked the bread on a tray, and I placed the tray on a granite chopping board I use in the oven to replicate a real bakers oven. As you can see it really helps cook the dough from beneath encouraging a browned and crisp base! (read more in my baguette post)

Any questions or comments feel free to ask below and I'll do my best in helping you recreate this AWESOME FOCACCIA!
My baguette post made it onto this weeks YeastSpotting ..... I wonder if this will be deemed worthy to appear next week? check the site out for some awesome looking bread recipes!
Dylan
*my opinion, and you best believe it!


