Pages

Showing posts with label Bread. Show all posts

Sunday, 13 June 2010

Term 2 - Week 6 @ Tante Marie

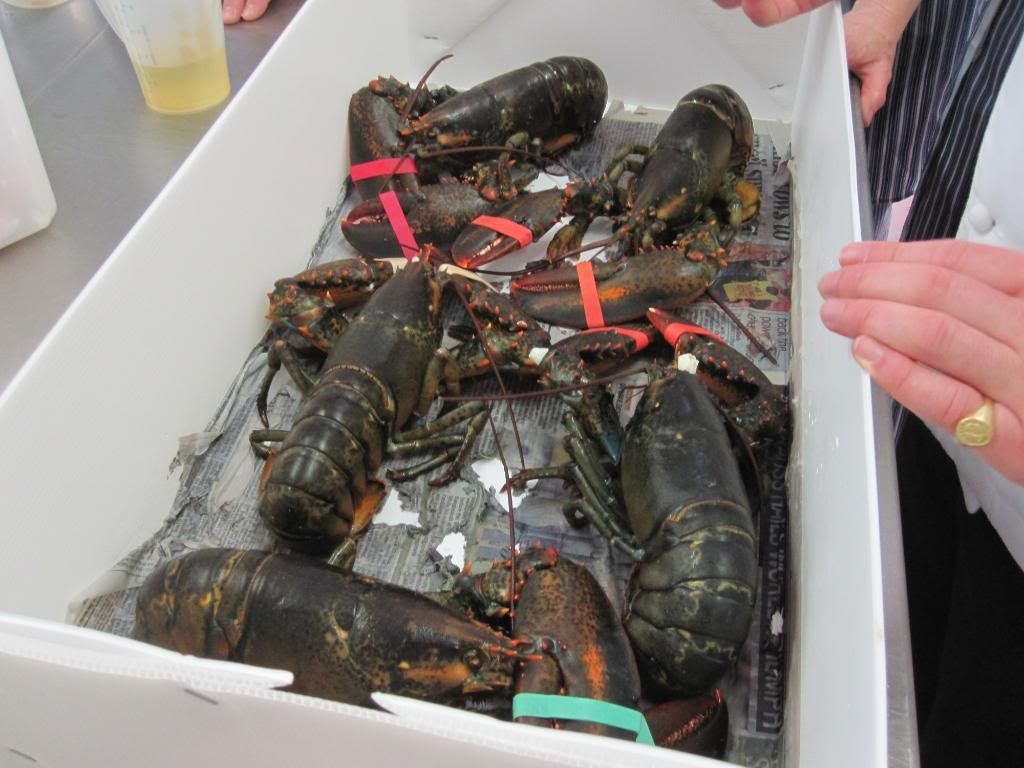
Finally, Lobster time!
So the first of some catch up posts has arrived, and it concerns week 6 at Tante Marie.

The monkfish... not a fan.
One of my favourite dishes of the week was the tomato and caraway bavarois that tasted very much like Heinz Tomato soup... only set with gelatin and served cold. You gotta love a bit of Heinz tommy soup!!! In contrast the very same class we made my least favourite dish of the week, monkfish skewers with sweet vanilla chilli dressing. Not sure what it was, maybe the sweet chilli sauce, maybe the combo of mango and fish but I couldn't eat it, although I must say some classmates enjoyed it. Strange strange strange people!

Monday, 15 February 2010

My Ultimate Focaccia Recipe

(Beautiful, expensive and exclusive Portofino, Italy)

So having failed so massively at making the little bread rolls in my exam last week at Tante Marie, I decided today to get back on the bread wagon and make one of my favourites breads – The Focaccia.

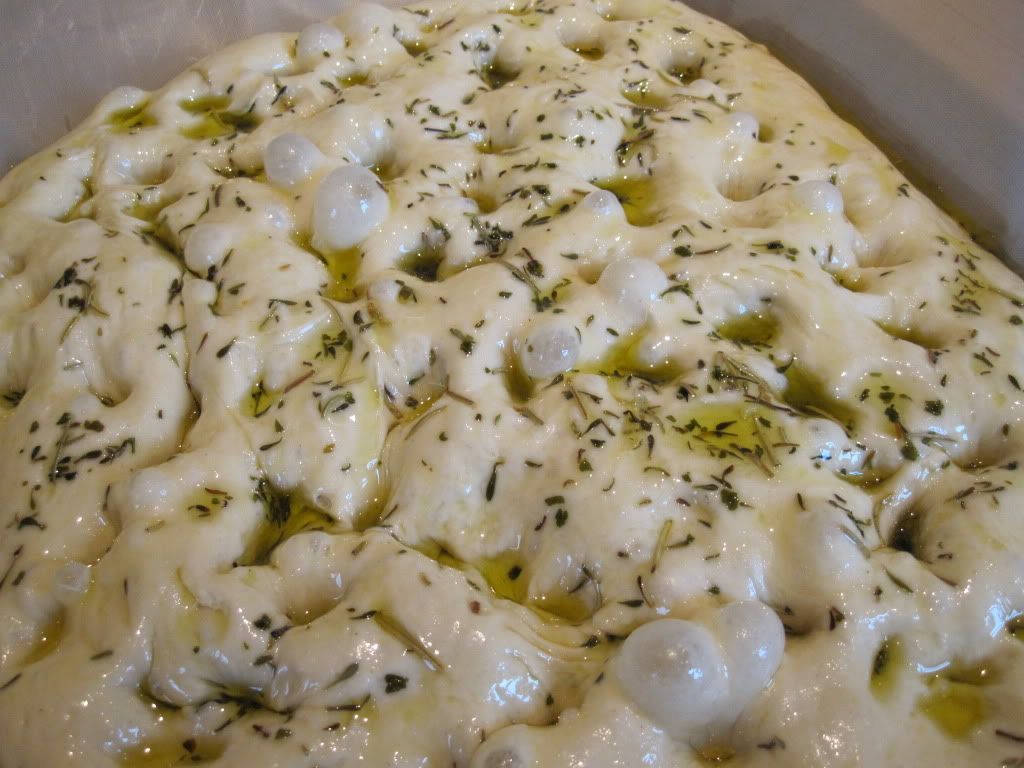
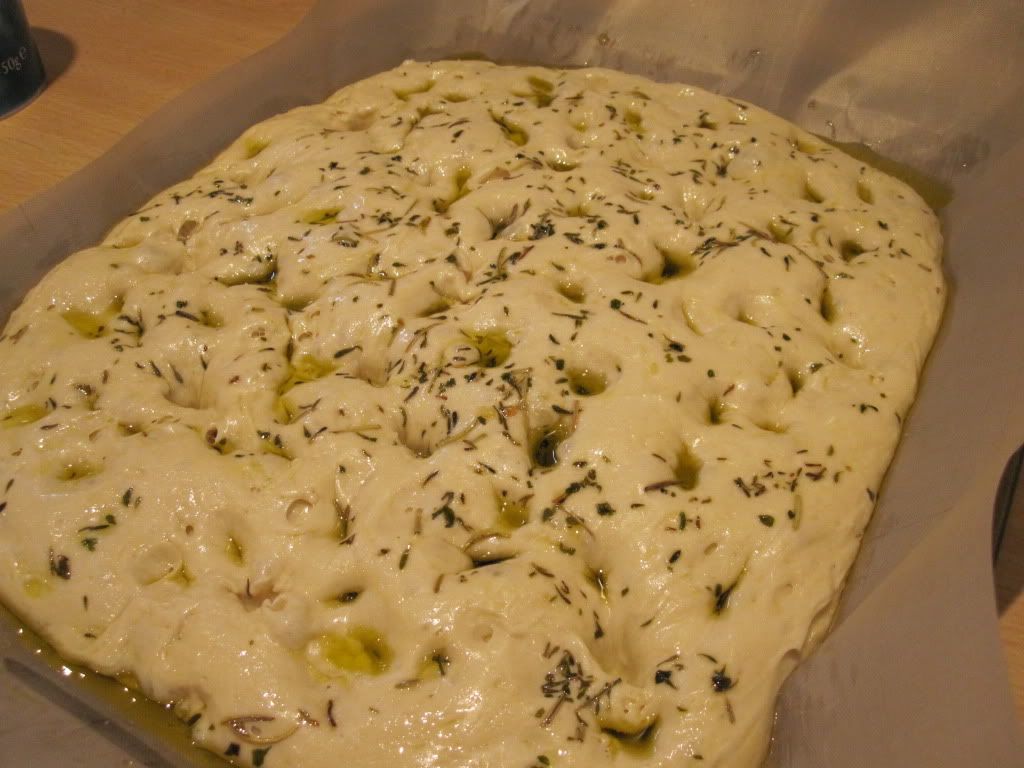
Garlic and herb Focaccia

Focaccia is as popular as it is badly made, and believe me I have had some badly made ones!  Whilst working on-board large motor-yachts I tried numerous recipes for this fabulous bread, non of which came close to encapsulating the goodness of the version found in a tiny little bakery in the heart of Portofino, Italy. This tiny little bakery that has been going for over 100yrs, serves up what can only be described as the best Focaccia in the world* and may also rate as being some of the most expensive. One day I had to run ashore to pick up some provisions and was asked by the chef to stop by this particular bakery and pick up a few varieties for the guests, and was warned that the old women that serves in there will try and feed me till I burst with various bits of baked goodness... she didn't disappoint. I bought four varieties, each portion being the size of a dinner plate... price... 65 euros! That's some expensive water, flour and oil let me tell ya! But oh yeah it was definitely worth it!

After this experience my focaccia making stepped up a gear trying to recreate that perfect texture and flavour I had experienced, the crispness of the herb variety, or the goey stickiness that came with the onion topped version. After many an hour trawling the internet I stumbled across a recipe that looked as if it may posses the correct texture, and that has to be half the battle right?? So the next day I set about making it. Not bad.. I made it again a few days later tweaking it a little... better... and so on and so forth until I reached this my recipe. I would love to mention the place I first found the base recipe as it was the blueprint for this, just with a little tweak here and there, but I cant for the life of me remember... so if you recognise this being close to your recipe, let me know who you are so I can thank you and attribute it to you!

Ok, enough with the waffle. Lets get baking!


Dylan' Perfect Focaccia
(makes two breads, or if you have a very large oven and baking tray.. one party size!)

For the Poolish:

340g White bread flour
350g Water at room temp
½ tsp Dried yeast. 
(is fine to use fresh yeast if you have it. If using dried just whisk it with the water to dissolve and reactivate it)

To finish the dough:

All the above poolish
330g White bread flour
90ml Olive oil
2 tsp salt plus some for sprinkling
170g lukewarm water
1½ tsp Dried yeast 


  1. Night before making bread mix all poolish ingredients together with a wooden spoon and stir in the same direction 100 times to help develop the gluten (crucial), cover and leave somewhere cool or in the fridge overnight. This should be like a thick sticky paste so don't worry!


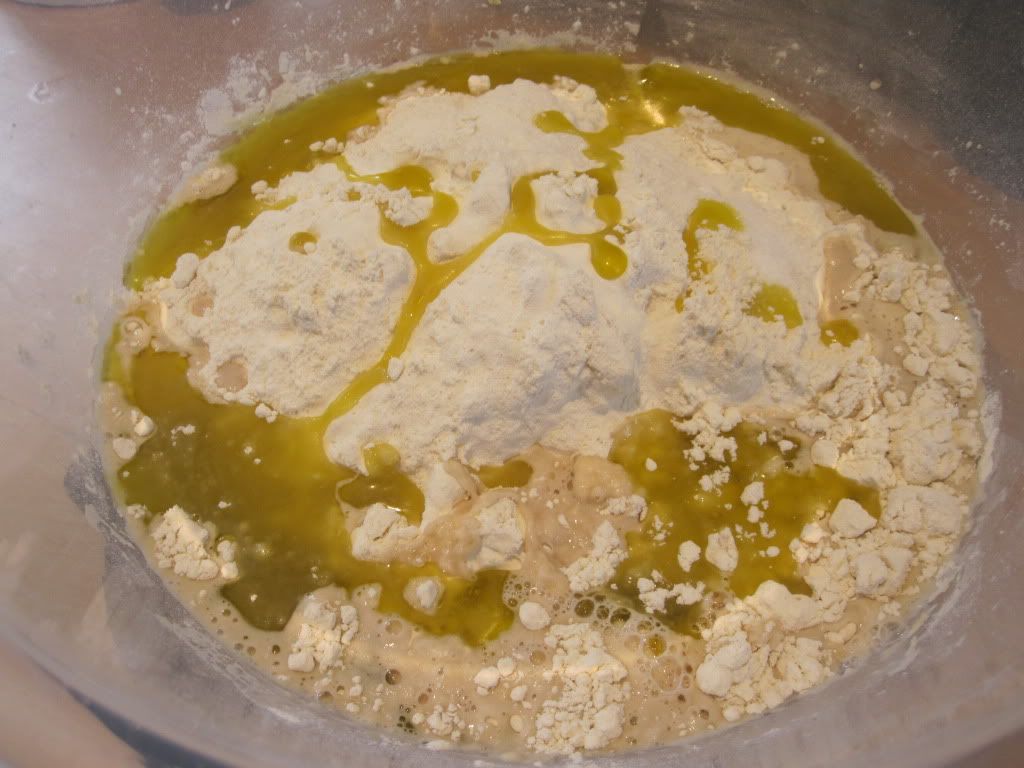
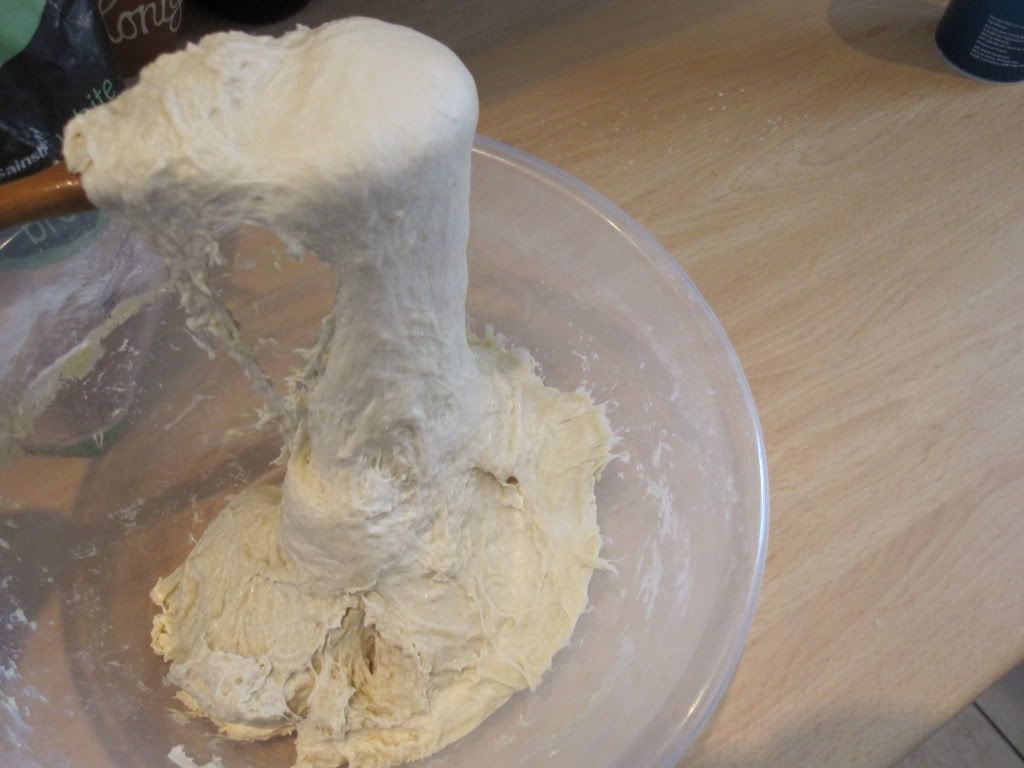
  2. Add remaining ingredients and again mix 50 times with a wooden spoon ensuring everything is incorporated. It is still going to be a sticky mess... just go with it. I wouldn't lie to you.. would I?


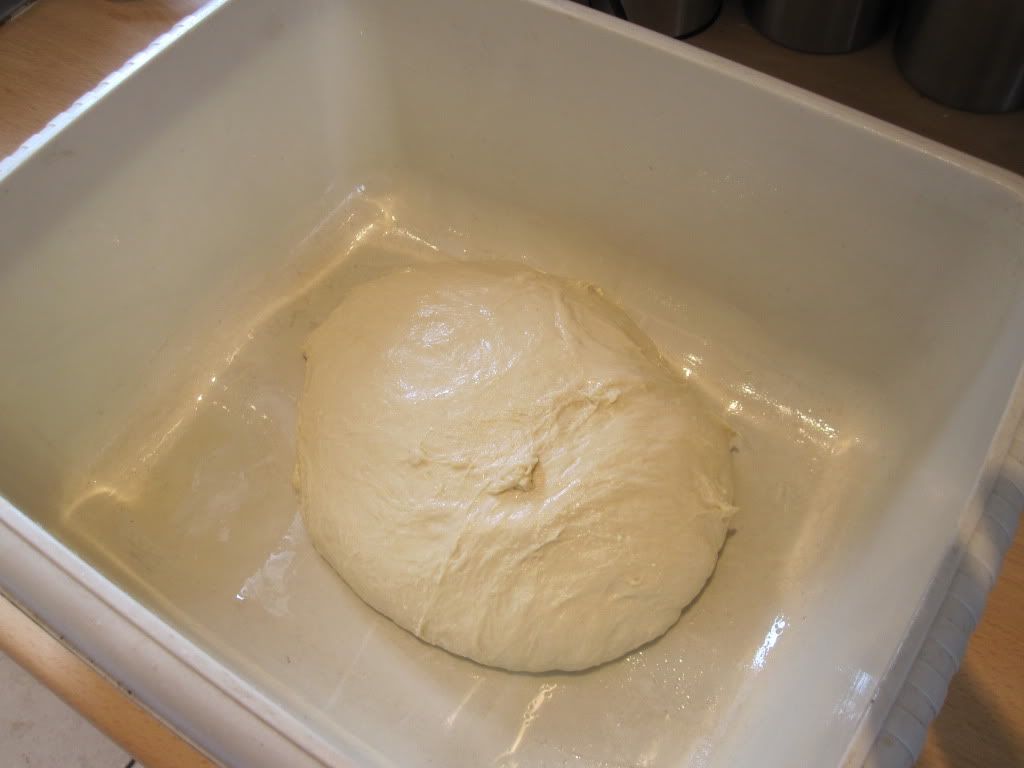
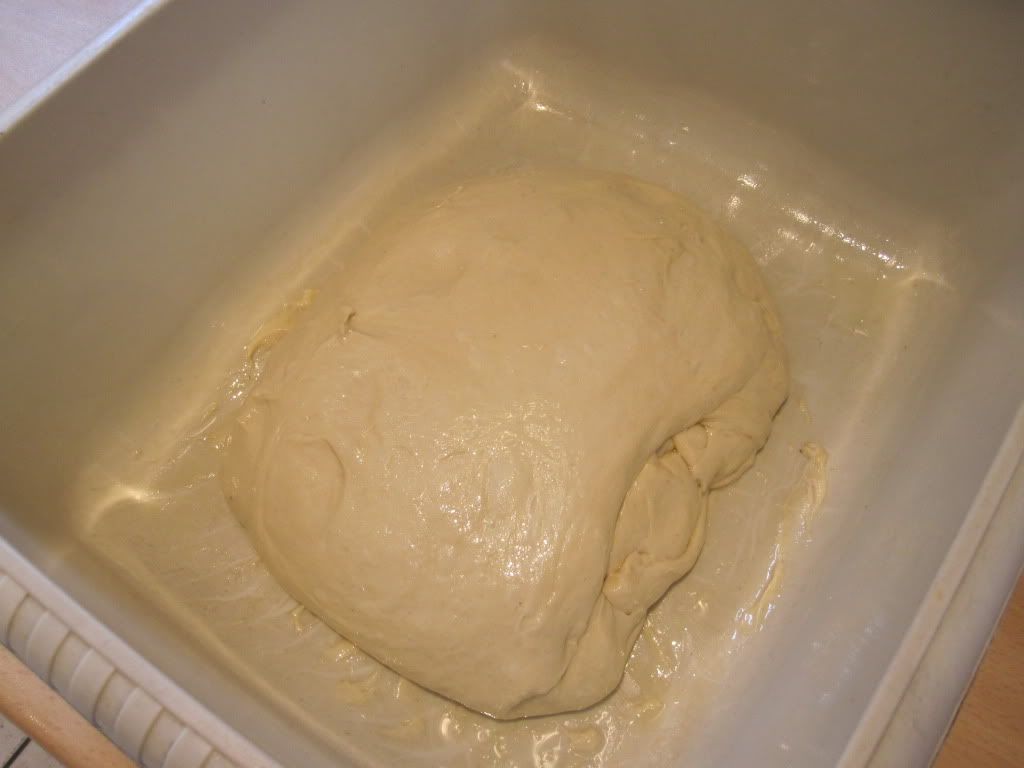
  3. Remove dough from bowl and place in a greased basin, gently spread the dough into a rough rectangle and fold it into three. Oiling your hands a little will help. Cover and leave to prove for an hour or until doubled in size in a warm place. I used an oiled plastic basin to pour the dough into, you could the remainder on a greased work surface or baking tray.


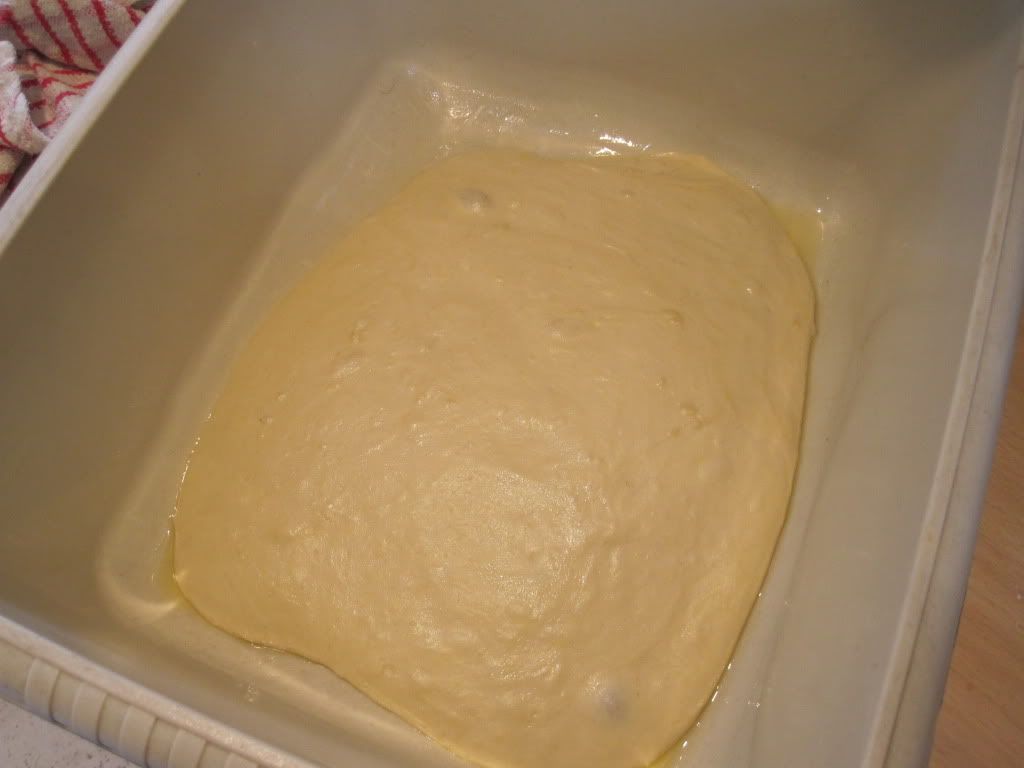
  4. Because the dough is so 'loose' it should have spread as it has risen and nearly filled the base of the basin, repeat the folding, cover and prove again for an hour or until doubled in size... repeat one more time after this.  The folding helps distribute the various size bubbles that are forming in the dough and is crucial for a good final texture.


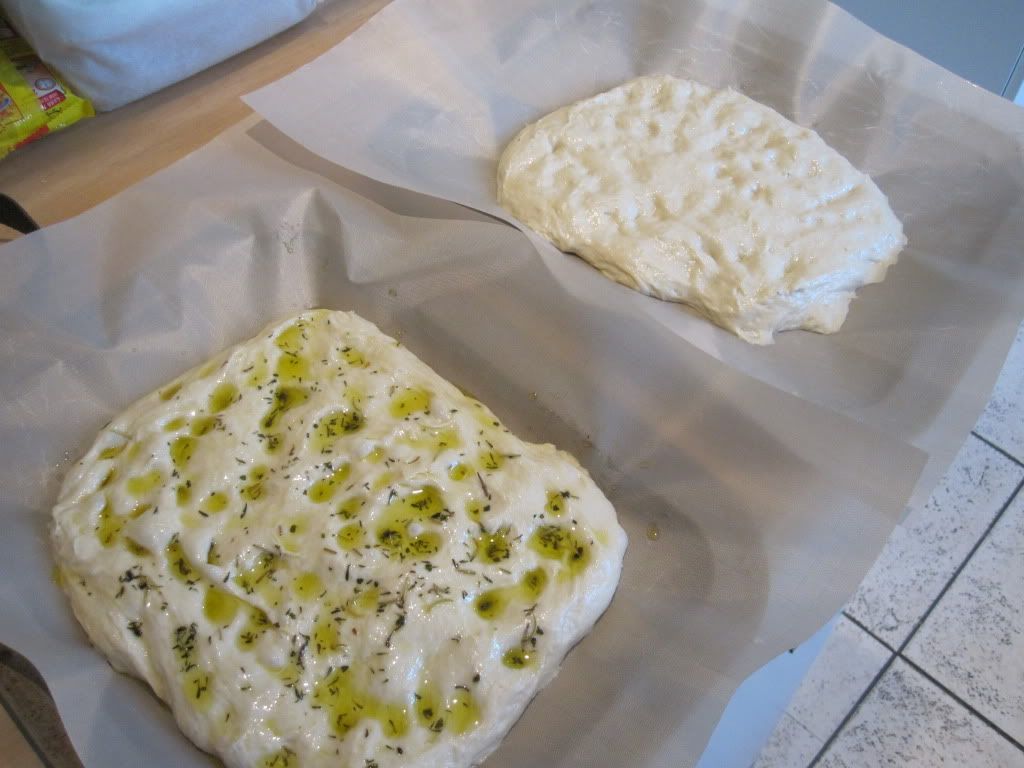
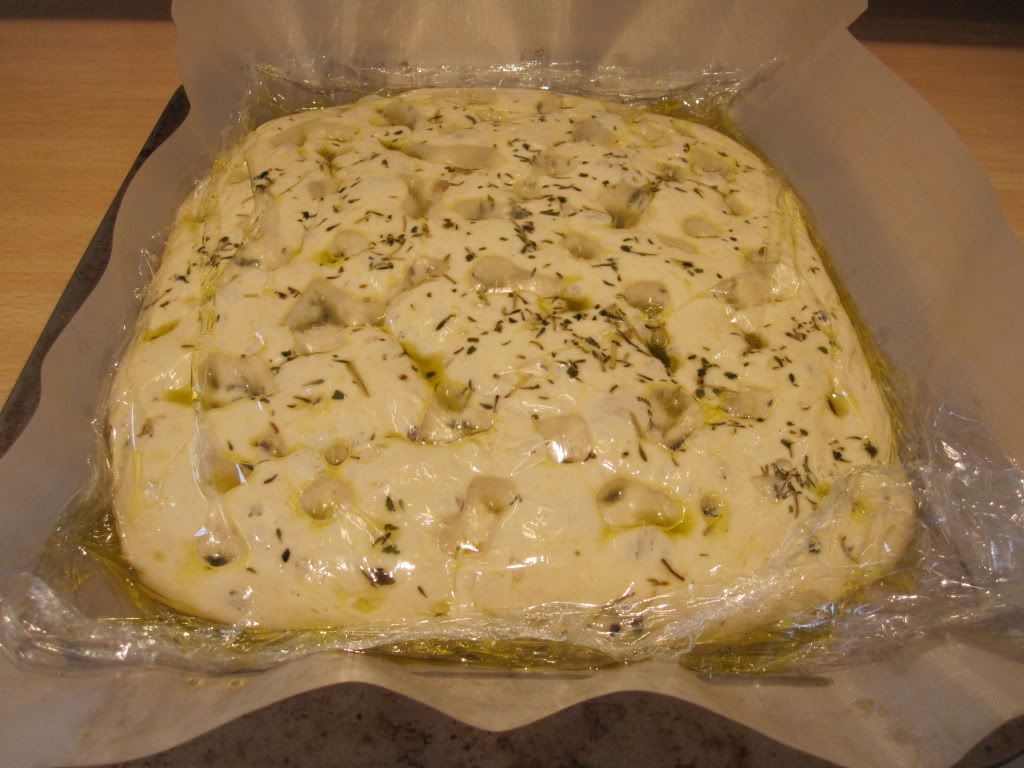
  5. Use a knife and try and cut the dough in two, it wont be easy but just get stuck in! Grease two trays with olive oil, or use a teflon baking sheet as I have, and place half the dough on each. Cover with oil (see end of post) and gently push your finger tips into the dough and ease it towards the edges of the tray. Don't worry if it doesn't fill the tray as it soon will. Leave to rest again covered in clingfilm until doubled in size.  Preheat the oven to 250c and place a baking sheet you won't be using for the bread in the bottom of the oven.


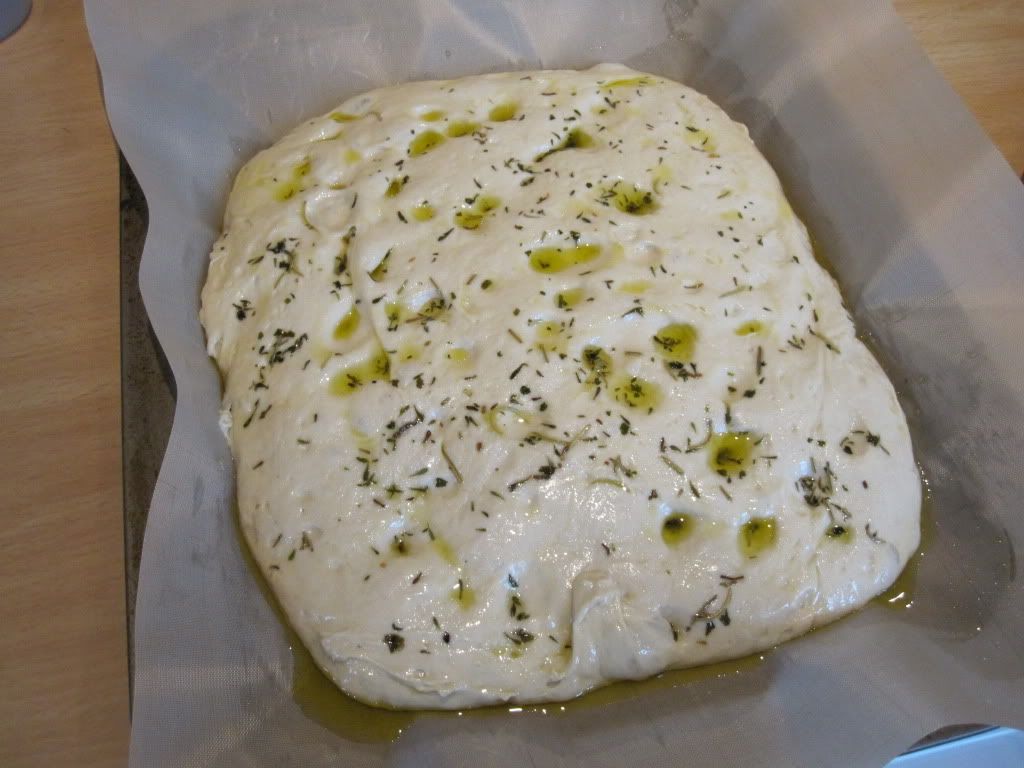
  6. The dough should now fill or nearly fill the tray. Carefully add more oil to the top of the dough and gently press it into the dough. Any any large bubbles that appear should be gently popped. The idea is to keep most of the gas in the dough so treat her gently. Rest for 15mins then place in a 250c oven, immediately turning down to 220c.  Just before shutting the door, toss a 1/4 cup of water or a few ice-cubes onto the tray you previously placed in the bottom of the oven, shut the door quickly to trap the steam.


  7. Vent the steam from the oven after 8-10mins and turn the tray around and bake for another 8-12mins until cooked through and nicely browned.


  8. Let cool on a wire rack or the base will go soggy, brush with a little oil then sprinkle with sea salt! Don't touch it for at least 20mins to allow excess moisture to evaporate from the dough.... enjoy!


So that's basically that. A few things, I made a flavoured oil with rosemary, thyme and garlic heated cooked gently in good extra virgin olive oil for 6-7mins and then cooled. You don't have to do this as it tastes great with just the olive oil... I would recommend it though. 150-200ml should be about right, save leftovers to make salad dressing with... no measurements for the herbs as I didn't take note, just go with what feels right, taste and add more if necessary!

The second focaccia was a onion topped version, very authentic and my favourite! Finely slice an onion or two or three and place in a bowl with some salt and a little sugar. Mix well and taste a bit of onion, it should taste a little too salty. Leave for 30-60mins and gently squeeze the liquid out of the onions. Taste them again and they should be only a little salty now. Spread over the lightly oiled dough and bake. Sprinkle with a little salt while cooling.


I cooked the bread on a tray, and I placed the tray on a granite chopping board I use in the oven to replicate a real bakers oven.  As you can see it really helps cook the dough from beneath encouraging a browned and crisp base! (read more in my baguette post)

Any questions or comments feel free to ask below and I'll do my best in helping you recreate this AWESOME FOCACCIA!


My baguette post made it onto this weeks YeastSpotting ..... I wonder if this will be deemed worthy to appear next week?  check the site out for some awesome looking bread recipes!

Dylan


*my opinion, and you best believe it!

Sunday, 14 February 2010

Week 5 & 6 at Tante Marie


Apologies for the lateness of this post but I was kept busy with preparing for my first practical exam at Tante Marie, which kept me from updating you on the last two weeks events.

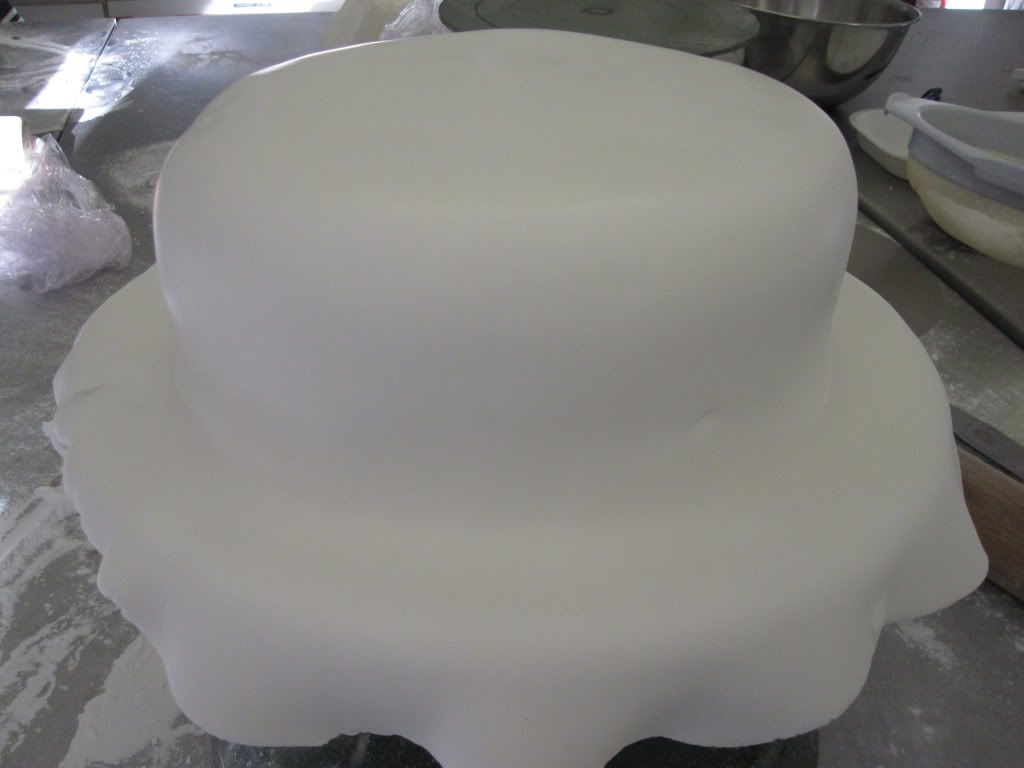
Week 5 started with icing the dreaded Celebration Cake with cold fondant, a task that didn't go entirely smoothly but resulted in something which I am happy with knowing my skill level (-10) at these sorts of things.

Celebration Cake - covered in cold fondant

We also made up some Royal Icing and did a little piping practice, something which my perma-shaking hands are never going to cope with too well. Next step for the cake is to start decorating it... and that is where the real “fun” begins allegedly.

 My humble/feeble attempts at piping... this cake is not going to be pretty!

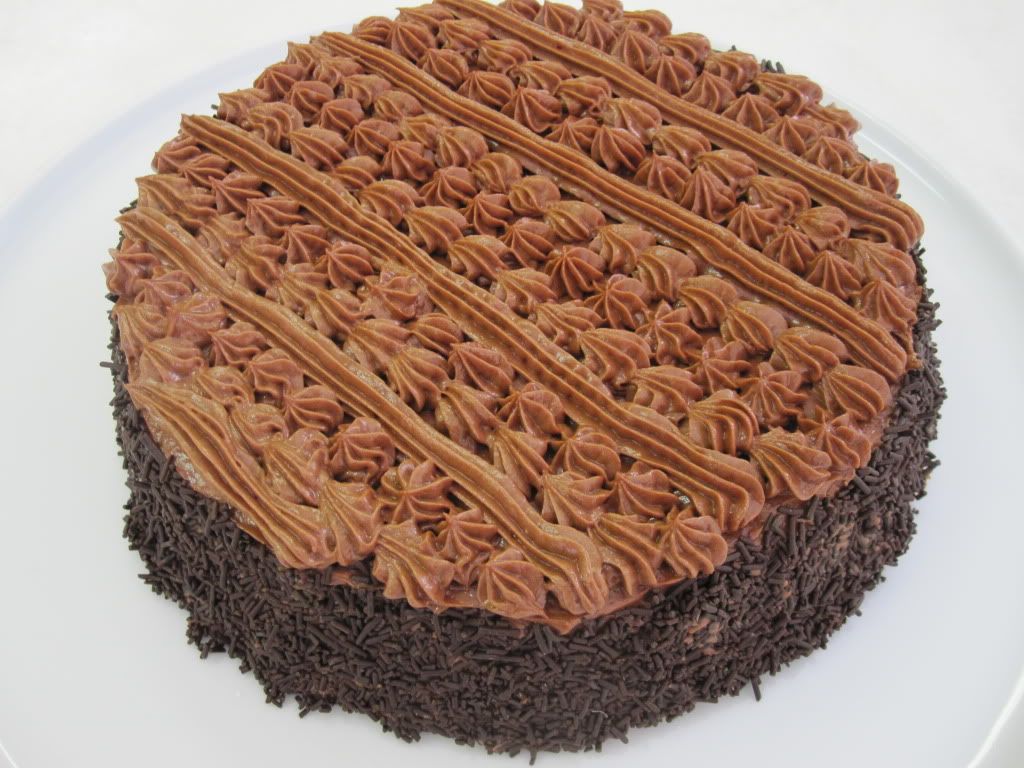
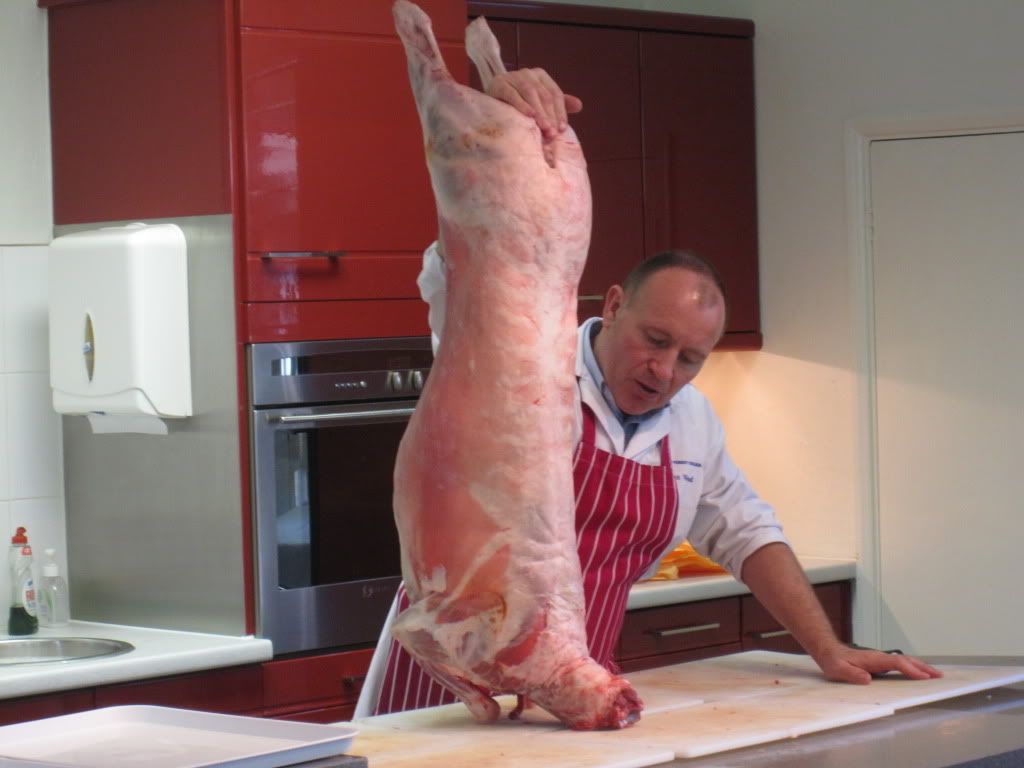
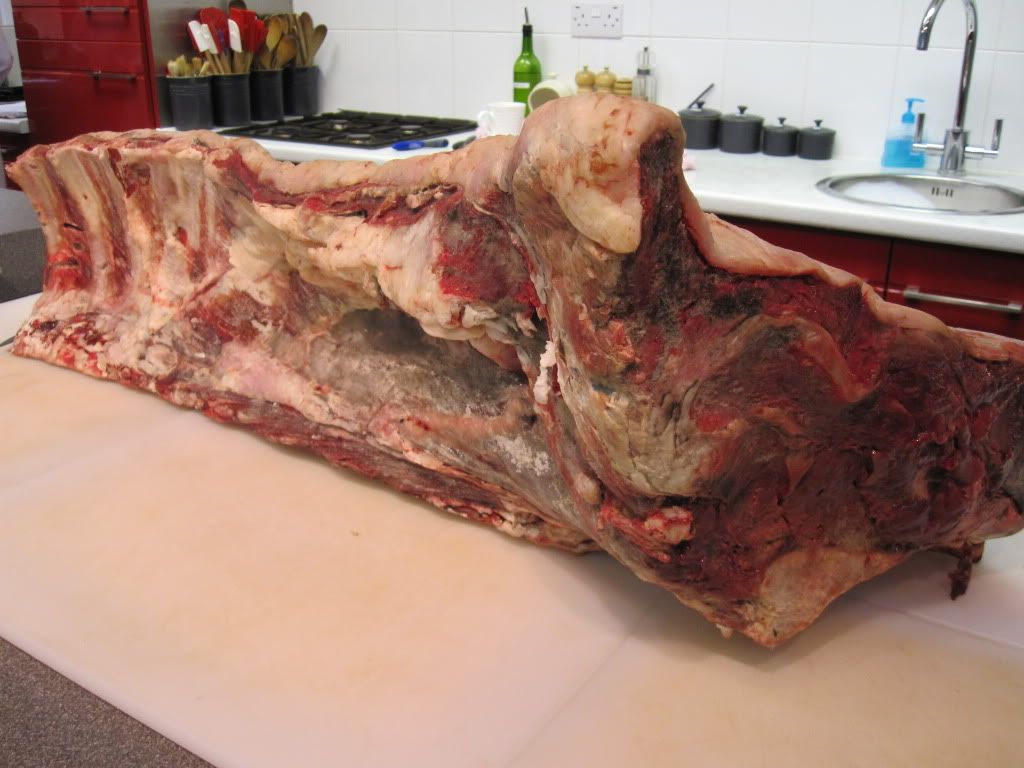
As if that wasn't enough piping, week 5 saw us make a Gâteau au chocolat... which... wait for it... had a delicate design of stars, shells and straight lines piped over and over again across the top :-(   Other dishes included Cabbage gratin, Filets de sole cubat, Warm honey and goats cheese salad, Poulet provençal, Turban d'Agen and a couple of others. The week also contained a couple of demos, a theory class, “The Meat Lecture and “The Herb Lecture”. I intend to post about the about the final two lectures mentioned in the easter break, so tune in then to see what these pics are all about....

A whole Lamb... minus innards.. head, fur... etc...

 
1/4 of a beef!  Hung for 5-6 weeks... get a load of that colouration!

Week 6 was a 4 day week what with half-term on Friday... yeah I said HALF-TERM mofos, Whoop Whooop! The week kicked off with a demo on Monday morning followed swiftly by some of our classes first practical test... the so called “Intermediate Exam” whereby one must cook a three course meal chosen by Tante Marie along with 8 bread rolls shaped into various...erm.... shapes!?!?! The exam is split over two days, a two hour session in the afternoon followed by a 9:30am start the following day, serving starters at 12:00, mains at 12:15 and deserts at 12:30.

On Monday and Tuesday I had to potwash for some of my fellow students doing their exam, before starting mine on Wednesday afternoon. My dishes comprised of Bread rolls, Kitchen garden soup, Garlic and herb crusted rack of lamb, Rosemary potatoes, Cabbage gratin, Carrots vichy and yes you guess it........ a god damn Gâteau au chocolat with all that damn piping!!!!

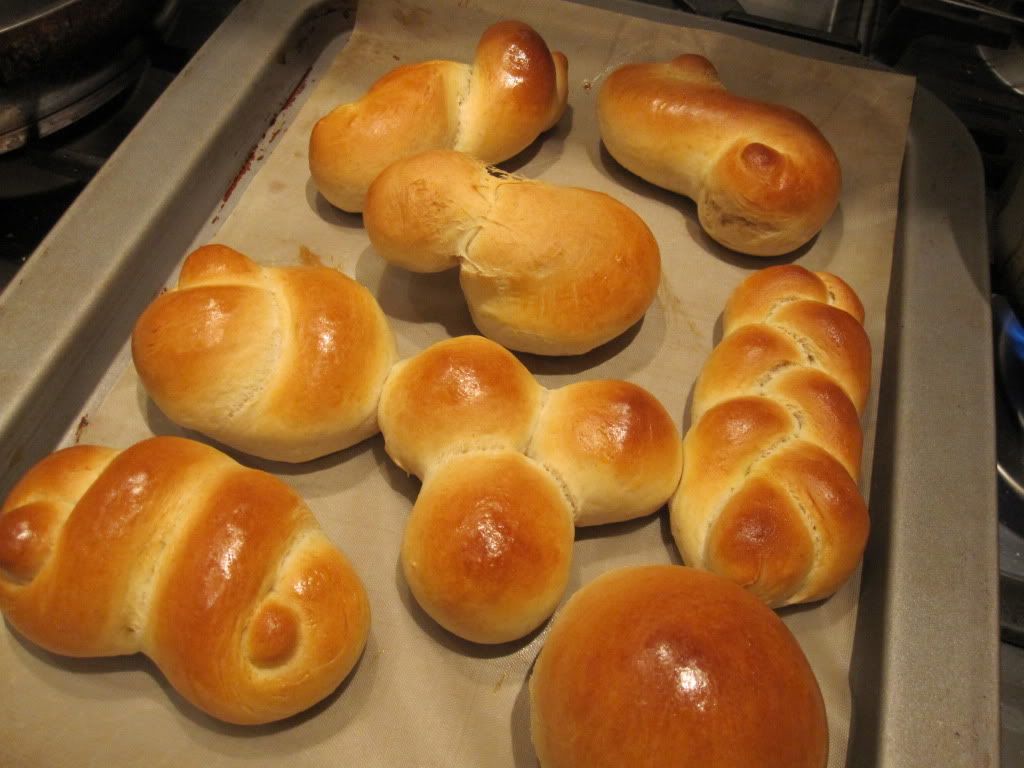
Anyway, all went OK... not brilliant by far. I was devastated with home my bread rolls came out, they had hardly proved even after nearly an hour over some hot water and when baked were covered in stretch marks and were pasty pale even though I had baked them for longer than required in a desperate attempt to get some colour on them... bloody old school gas ovens!

 From clockwise - Shite, Shite, Shite, Shite, Shite, Shite, Shite and finally...Shite

Of course the piping was not as bad as my first attempt in class the previous week, and although I was quite happy with it, I am fully aware that it would fall short of Mrs A's stringent criteria. The only other problem with the Gâteau was the fact it did not come out of the tine cleanly... again! Despite doing exactly as instructed and taking a solid 5mins to slowly and gently run a palette knife delicately around the edge of the sponge (as it again hadn't shrunk away from the sides as it is allegedly supposed to do, not that anyone else could achieve this... even when it was demo'ed to us!) a good chink was left welded to the oiled cake tin... very very annoyed!

Sooo... Lines not straight and gaps between shells and stars.. on the right side of the third line from the bottom you can see where my shakes really kicked in!!!

Saving graces were how well my lamb was cooked (in my humble opinion), the jus was under reduced as I was faced with the conundrum of serving well rested and hot meat with a under-reduced jus bang on time, or a great jus with cold and dry meat 5mins late. I went with the former option.
The veg dishes were good-ish... the potatoes stuck a little to the pan but were a massive improvement on the “mash with crispy bits” I served up in class when we first cooked them after they welded themselves to the pan. The Cabbage gratin was a revelation as I decided to actually weigh the cabbage I had shredded to ensure I had exactly what was required, beautiful.

The soup came out well... again a lot better than we had made in class mainly due to the fact we followed the recipe and only put 1litre of our carefully crafted veg stock into it... rather than what we did in class and just put ALL the stock... watering the final flavour down by a factor of a million. 
 
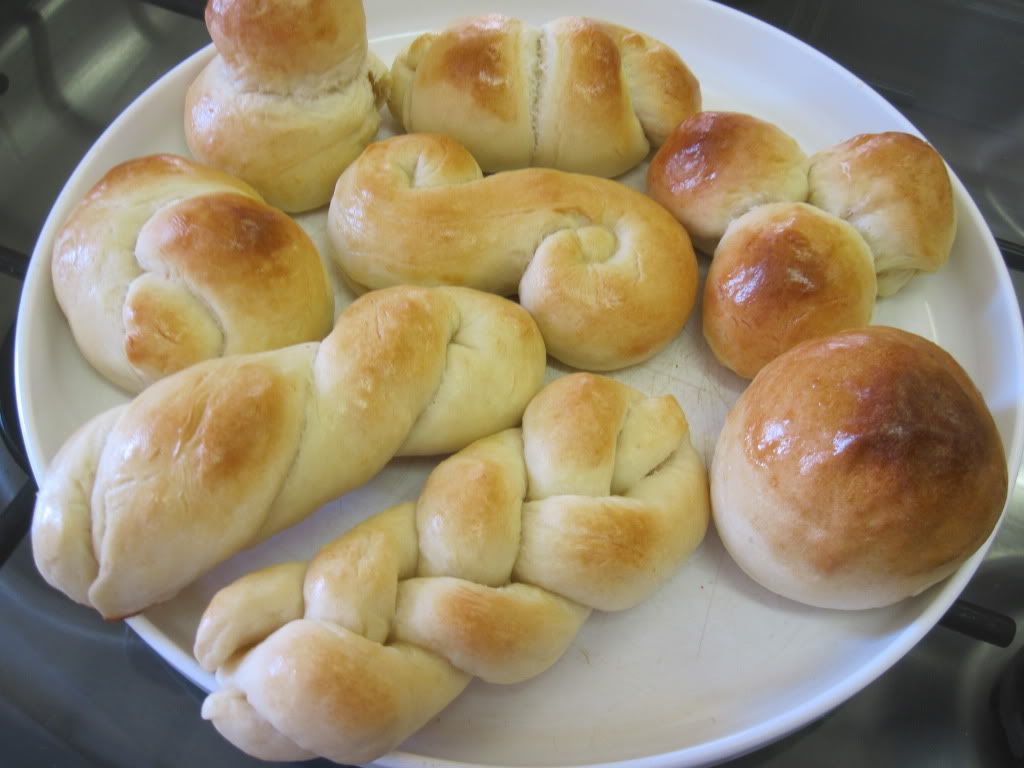
Over all I was happy ish, far from faultless and far from what I could achieve. I put myself under the kosh on the second day by remaking my bread rolls.... which I shouldn't have done as they came out even worse... I couldn't believe it! Here's a pic of what I thought was just an OK batch I made at home....

From bottom to top - Not bad, Not bad, Not bad, Not bad, Not bad, Shite, Shite and finally... Shite!

Compared to the two abominations I made in the exam this bread was amazing, despite the cottage loaf blowing its top, and the twist untwisting a little! If I had stayed with my original bread I would have had a nice 30mins to rectify some of the things that weren't great... alas coulda woulda shoulda dont get you very far.

You see, I don't see tests like this as an opportunity to show the teachers what I can do, but as a way of challenging myself to see what I can do. I know a lot of people wont either understand or agree with this, but that's the way it is for me. Yes I would like to get a great final mark for my time spent at Tante Marie, but I feel its more important for me to leave here with a greater idea of what I am, and what I am not capable of doing. I have a feeling that in the real world people are not going to be so interested in whether I got a Pass, Merit or Distinction on this course... but whether I can indeed knock out 500 canapés in the 4hrs before they are needed.

If from time to time you don't push yourself beyond your limits then how can you know where that limit is? And this is what I was thinking when I remade my bread. I didn't go down in flames, yet I didn't shower myself in glory. I guess we will just have to wait a few weeks for the budget lunch exam and see how far beyond my limits I go.....

Dylan


Sunday, 7 February 2010

Homemade Baguettes - Easy & Awesome


After hauling myself out of bed after the most enjoyable Sunday lay in I have had in the last six days, it was time to get up and bake some bread.  I decided upon making a “lean dough”, as in one that contains no fat and settled upon a nice quick recipe for Baguettes that I found and tried a while ago.

A quick note, I am using a granite chopping board to bake my bread on. I keep it in the oven and make sure it is really hot before putting any dough on it. The idea is that it replicates a proper bakers oven and starts to cook the dough from the bottom as soon as it touches it. You can pick these up quite cheap, I got mine from Argos for £7 reduced from £15 in a clearance sale. An alternative could be an upturned heavy bottom roasting tin. You can just place the dough into the oven on a cold baking tray but you will not get a consistent crust all around the bread, it will still be good eating though, just not spectacular!

Recipe
10g fresh yeast (half for dried)
280g (approx) water
482g strong flour
10g salt


Method

Sieve flour and salt into a large bowl.

Take the fresh yeast in one hand and a small handful of the flour in another. Rub both hands together as if trying to warm them on a cold day, crumbling the mix into the bowl containing the flour and salt.

Add the lukewarm water reserving a few tablespoons in case you don't require it all. Using a knife or the handle of a wooden spoon gently combine the ingredients together. When the mix looks like its almost formed add the remaining water if there is still some flour remaining at the bottom of the bowl.

Turn out onto a lightly floured surface and knead for ten minutes. You will know when the dough is ready as it will have a smooth appearance and will spring back when lightly pressed with a finger. It is important not to take any shortcuts here as the kneading develops the gluten that will impact the texture of the finished bread.

Unproven dough

Place the dough back into the mixing bowl that has either had a light coating of oil or a sprinkle of flour (I prefer flour personally as I don't want a greasy dough), cover with a damp tea cloth and leave in a warm place until doubled in size. This could take 20mins in a very warm room or over an hour in a cooler spot. The dough will no longer be springy, you can make a 'belly-button' and the dough will hold the indentation.

The dough is now double the size and the gluten has relaxed and is no longer springy to the touch

Preheat oven to its maximum setting, French bakers ovens are a lot hotter than home ovens so we need to get as close as we can. Ensure the cooking stone or upturned tray is in place if using, and place an empty tray on the bottom of the oven... you will see why shortly.
Gently turn the dough out onto a floured surface and slap the dough a few times to remove any large packets of Co2 that have formed. Cut the dough in two and create a “backbone” in both pieces of the dough by following the technique below...


As you can see my technique is not up to scratch, but I have a feeling the bread will be OK, don't know why, I just do... ;-) I folded and pinched etc three times and after this the dough was elongated and more cylindrical.

After one go at shaping the dough and 'inserting the backbone'.. hmm more practice is needed!

This will help the dough have a nice round shape as a baguette should and not a flat bottom like a ciabatta.

Gently roll the dough to the desired length. If you are baking the bread on a conventional baking tray that is not heating in the oven, place the dough upon this, cover with a cloth and prove for 15-20mins in a warm place or until nearly doubled in size.

Shaped dough on floured tray ready to "slide" onto baking stone after further proving

If using a baking stone or similar, place the dough on the back of a floured upturned tray or chopping board, cover and leave to prove for 15-20mins in a warm place until nearly double in size.

To make a poppyseed baguette, beat an egg and lightly brush the dough, sprinkle with poppy seeds and then take a lame (bakers razor) or a slightly serrated knife (what I used) and quickly and confidently slash the bread seven times... I cant count so I only did six, mother will be cross. Of course you don't have to add the poppy seeds, just bake without the egg wash.

 Egg washed and poppy seed coated.. ready for the oven

Slide the dough quickly from the board or tray onto the hot baking stone in the oven, pour ¼ glass of water onto the baking tray at the bottom of the oven and quickly shut the door. The steam, strangely, helps to give baguettes its characteristic crust.

After 5-6mins open the oven to vent the steam, if there is still water on the tray remove it from the oven. Continue cooking for 6-10mins until it is golden brown and sounds hollow when tapped on the underside. Leave to cool on a cooling rack and don't eat for at least 20mins!!! Hard to resist but the inside needs time to dry out a little.

Venting the steam from the oven, here you can see the granite chopping board I am using as a baking stone

To make the lovely looking 'Epi' you could have followed my pictures... had I taken any. Instead follow this video...


Make sure you do this either on the baking sheet you will cook it on, or on the board you will transfer it onto the stone with. Again with the stone, confidently slide the dough onto the stone with a good jerk.

Bake as per the baguette.


Let me know how you get on... because this is soooo easy you will be making it, won't you?!?!?!

Bon appetit!

Dylan

p.s. a great site for recipes involving yeast http://www.wildyeastblog.com/category/yeastspotting/